In the User Management section, you can add users to access SMS-Magic Converse by assigning one license per user. By default, as the Admin user setting up SMS-Magic Converse, you are the first license holder. Only licensed users can access SMS-Magic Converse.
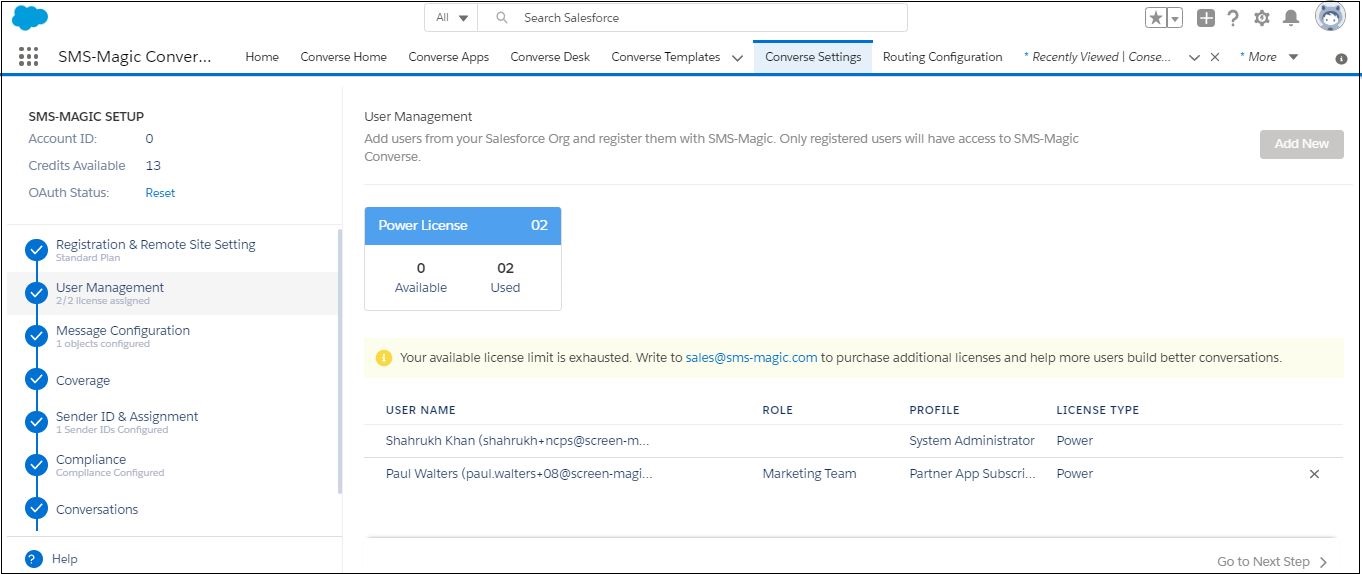
The User Management screen displays the following information:
- Plan type you have purchased
- The total number of licenses assigned to the Plan type
- The number of available licenses
- The number of licenses used
If the number of users is more than the number of licenses available, the Admin can purchase more licenses by connecting with care@screen-magic.com.
You can add more users by clicking Add New and entering at least three characters to search for name or email addresses. After adding the new user, the following happens:
- A license is consumed from the available licenses.
- The new user is listed in the User’s List.
You can only add active users.
You can remove a user from the User’s List and free a license for reuse. After confirming the removal of a user, the following happens:
- A license is added to the available licenses.
- The user is removed from the User’s List.
You can also associate user licenses directly to a profile. All users within that profile will be eligible to use that license. However, if the number of users sharing that profile exceeds the available licenses then you will have to purchase additional license.
Add A User
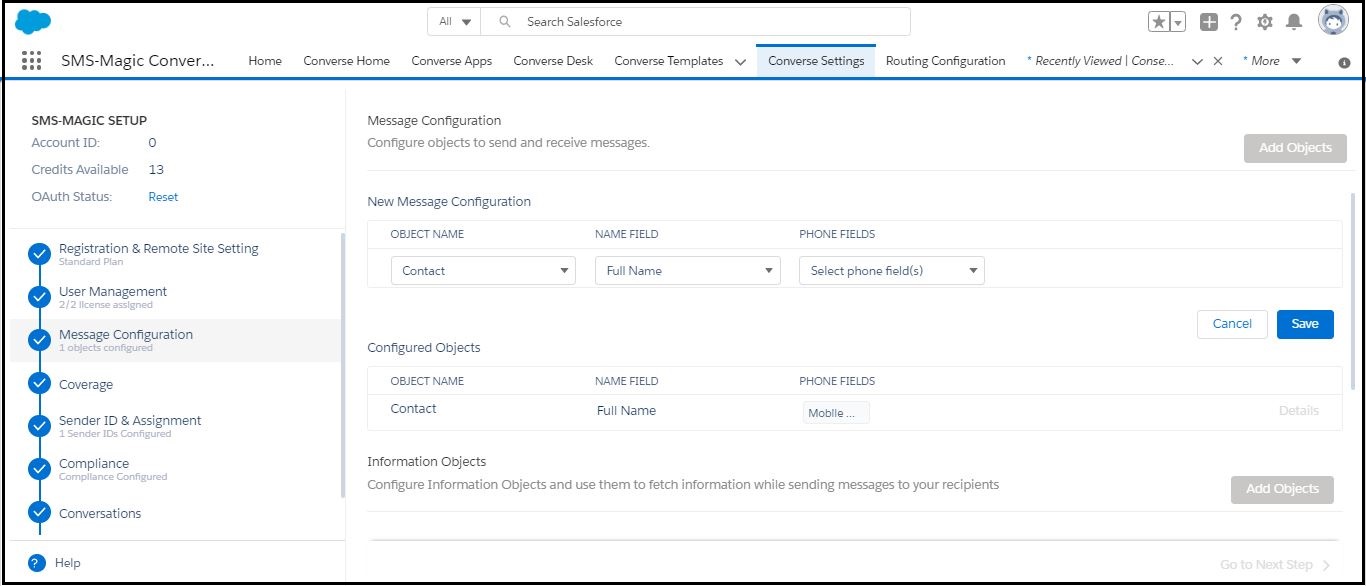
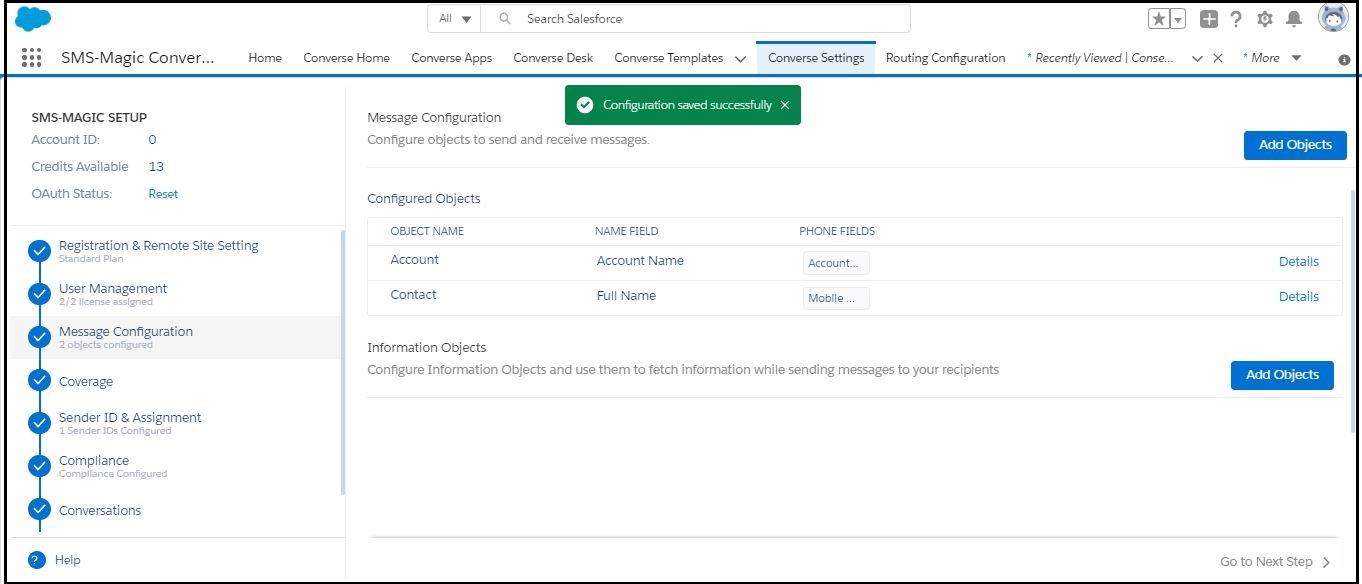
- Under Converse Settings, click User Management.

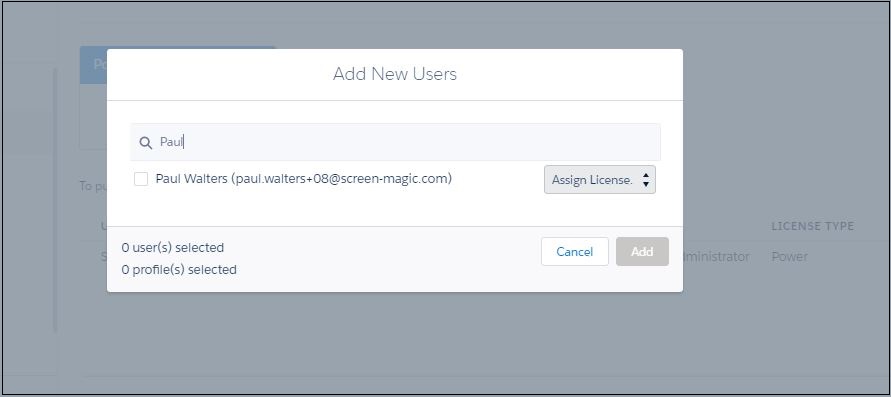
- Under User Management, click Add New.
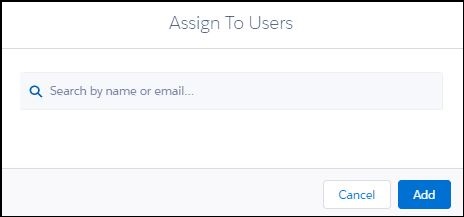
- Enter at least three characters to search for the name or email addresses. The selected user name appears as shown.
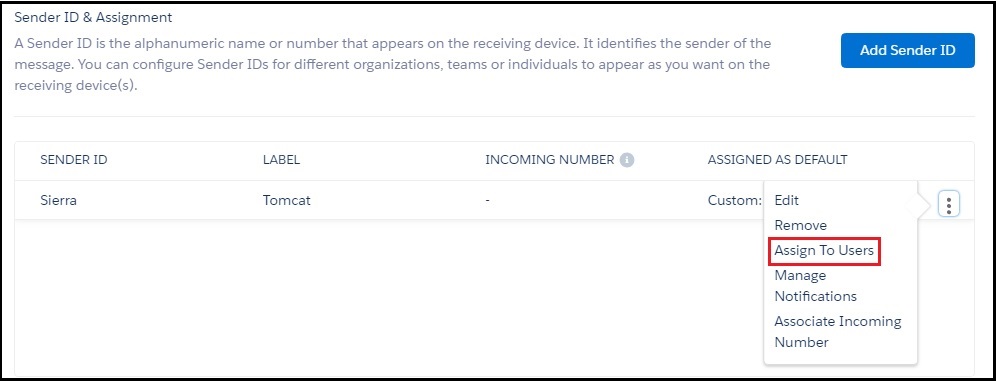
- Select the users or profiles from the list.
- Click Assign License to select the license type you want to assign to the user. The user/profile details appear as shown.
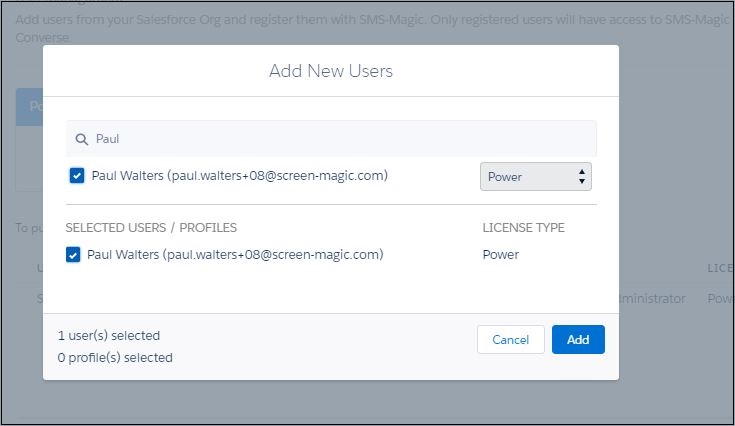
- Click Add. The new user/profiles appear on the User Management List.
A license is deducted from the Available License box.
If users within a profile exceed the number of available licenses then the following message appears:
“You have exceeded the limit on the number of users that can use SMS-Magic. You can purchase additional licenses by sending an email to care@sms-magic.com.”
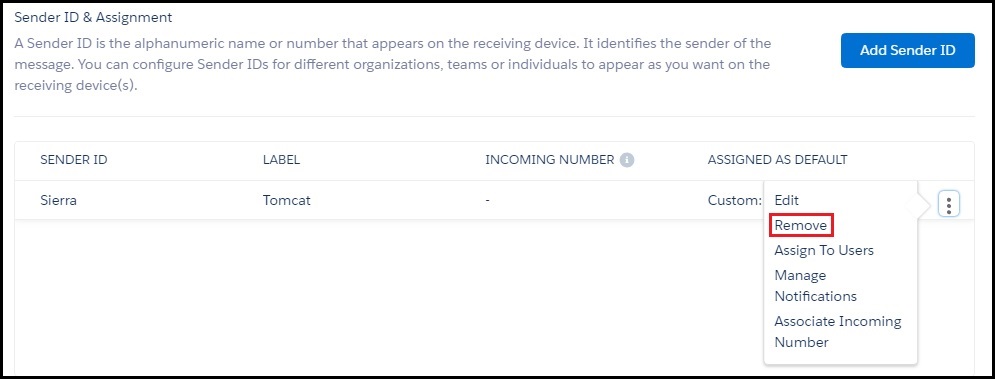
Remove A User
- Go to User Management section in the Converse Settings tab.
- Click
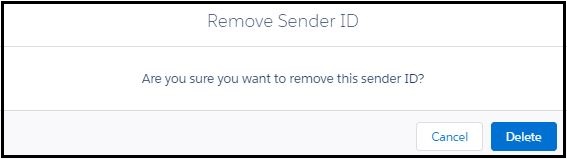
 next to the user in the User’s List. The Remove User pop-up window appears.
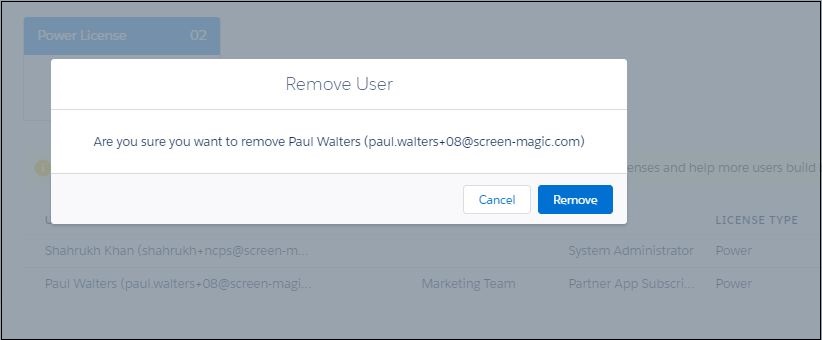
- Click Remove to delete the user in the Remove User pop-up. The user is removed from the User’s List.
A license is available in the Available License box.
 under the Action column.