
Edit Content Type
- On the content type page, select
 next to the content type you want to edit and click Edit. The Edit Content Type pop-up window appears.
- Modify the fields as per requirements. Refer to the table below for more details.
- Click Save.
| Field | Description |
|---|---|
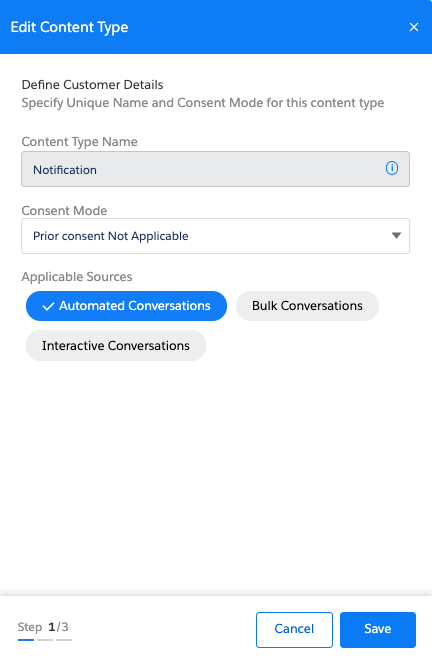
| Define Customer Details | |
| Content Type Name | Displays the content type name. |
| Consent Mode | In the drop-down list select the relevant consent mode for the new content type. |
| Applicable Sources | Select the message source through which you want to send the content-type:
|
| Configure | |
| Sender ID | In the drop-down list, select the Sender ID that will be associated with this Content-Type. Consent is created only if you receive an incoming request for this content-type using this Sender ID. If you select All in the Sender ID drop-down list, you can create a consent for that content-type when you receive an incoming request through any of the Sender IDs configured in your Org. |
| Opt-In keyword | Type the specific Opt-in Keywords that you want to associate with this content type. |
| Opt-In Confirmation Message | Type the message that will be sent to customers in response to the Opt-in request. |
| Opt-out Keyword | Type the specific Opt-out Keywords that you want to associate with this content type. |
| Opt-Out Confirmation Message | Type the message that will be sent to customers on receiving the Opt-out request. |
| Opt-Out Instructions (Optional) | |
| Auto append opt-out Instruction in every message | Select the option if you want to add an opt-out instruction to every message that is sent out. |
| In an Interval | |
| Do not Auto-append opt-out instructions in every message | Select the option if you do not want to add an opt-out instruction to every message that is sent out. |
| Opt-out Message | Type the message you want to append as an opt-out instruction |